I grew up in a wonderful home with an amazing mother. My 2 grandmothers lived close by and we were spoiled by them. One was named Anna and the other Rhea Anna. And so my handle if you will is Granny Ann. Together those 3 women taught me everything and taught me how to love living life by hand. I hope you enjoy the adventure as much as I have.
Showing posts with label gift idea. Show all posts

Friday, November 16, 2012

B K's Quilt

I had the wonderful opportunity of seeing another grandchild baptized. I loved making this quilt with him. He choose his 15 favorite Primary songs all by himself. He had very definite ideas about what he did and did not want on it. I love when people have opinions that they can express. As long as they don't have to have a fit about it. But he is a darling boy and we had a good time designing it. I love him and am so proud of him. Here is the quilt:


He wanted many of the same songs as L. (click here to see L's quilt) so I only made up a few new squares.

I know My Father Lives


As I have Loved You


For some reason he loves the Kona Hawaii temple. :)


B is interested in computers, loves his scriptures, always wants a dog and is very good at sports so that is how I came up with his center square. 

Wednesday, October 10, 2012

Primary Compassion Quilt


I am LDS and every 6 months our church has a 2 day conference with meetings for the entire world wide church. On Saturday evening the men and young men 12 years old and above have a special meeting. They go to the church and watch it.We have a special meeting for women the week before General conference and it is amazing. But on the night the men have meetings we do something fun. We women affectionately call this 'Ladies Night'. It has always been a fun time for me and my girls. We will go out to dinner and a movie. Go shopping. Sometimes we stay home and watch our favorite 'chick-flick' Anne of Green Gables. Now that my family has grown and we have 7 women and lots of children, we stay home and have a potluck meal and do a craft. With the grandchildren getting older I thought we should have a fun, yet meaningful activity for them (which helps to corral them for a minute, but just a minute.) Six months ago they made quilt squares by painting their hands and pressing them on to pre-cut fabric. I was amazed at how careful and patient they were. I had had images of paint all over my house. Then they turned their hand print into something like butterflies or turkeys or flowers, etc. They and their mothers were so creative. Our plan was to give this quilt to a sick child at Primary Children's Hospital. They signed their names and wrote sweet little 'get-better' wishes to the child. But the squares sat and sat on my counter until I finally moved them into the sewing room.


Between the guilt and needing another activity for the littles to do, I remembered the quilt. I sewed the squares together, added a back and batting. Then all that needed to be done was to tie it. Well, 7-year-olds are not the best knot tiers. They seem to be able to tie everything else in knots but when it is time to tie a real knot it just wasn't happening. I was a Cub Scout leader for years and taught many a little boy to tie square knots. I guess there is a reason that they start when they are 8. But the littles were so darling and careful as they worked. When we were finished and the quilt frames were put away I checked their knots. Most of them were just half knots like when they are tying their shoes. So maybe it was more my instructions than their skill. So I simply retied the stitches and had a fun time looking at all their squares again.


Tuesday, September 11, 2012

Chevrons

Chevrons are in and everywhere right now. Here the quilt I designed.

It is made by sewing strips of material together and cutting them on the diagonal. Have of the strips are offset forward and the other backward to get the opposite facing diagonals.


The back has a strip of coordinating fabric . The binding is of the same fabric. It measures about 48X 59 inches.


Monday, February 13, 2012

Valentine Cookies

 The best part of making these cookies is making them with family and friends. The real recipe should say add 5-10 grandchildren and parents who can be nice and patient. One rule of making cookies at grandma and papa's house is that you have to make at least one plate of cookies to take to someone in your neighborhood who might need a special visit or treat.

Sour Cream Sugar Cookies

6 cups flour
3 cups sugar
1 tsp. salt
1 cup shortening
2 tsp. baking powder
1 tsp. soda
4 large eggs
1 cup dairy sour cream
1 tbsp. vanilla
1/2 teaspoon lemon extract (opt.)
1/2 teaspoon almond extract (opt.)

Blend as for pie crust: flour, sugar, salt, shortening, baking powder, soda. Mix in remaining ingredients until soft dough. Roll out on floured surface to 1/4" thick. Cut in desiredshapes. Bake 400° for 8 minutes. These cookies do not need to brown to be done.

Frosting:

2 pounds powdered sugar
1/4 c butter, room temperature
1 teaspoon almond flavoring
2 teaspoons vanilla flavoring
dash salt
1/2 - 3/4 cup milk
food coloring

Sour Cream Frosting:

1 cup butter (room temperature)
6 Tablespoons sour cream
6 Tablespoons milk
1 Tablespoon vanilla
1/4 teaspoon almond extract
6-8 cups powdered sugar


Tuesday, January 31, 2012

Crocheted Bonnet and Shoes for New Baby

I love to give these little shoes to new born babies and now I have a bonnet to go with it. I made a few little changes but basically it is the same as the hat on my Pinterest board. Now I just need to have a new grandbaby girl and I am ready to go.

Monday, October 3, 2011

Halloween Banners

I love the Holidays. My mother decorated for all the holidays and I can still feel the magic in our home. I used to decorate for my children, now I decorate for my grandchildren and to remind myself of the little kid still in me. It's always a good idea to make things special especially when children are involved. And since banners are all the rage right now I made a reversable one for my all tree. It's Halloween on one side and Harvest on the other.


Wednesday, September 21, 2011

Dipped Strawberry Cupcakes

I don't remember strawberries this big when I was a child. Usually when you're little things are huge and they seem so small when you are older. Now to cover one of these monsters in chocolate is a treat all by itself. But put it on top of a cupcake. . .WOW what a party.

 Recipe:


Cake Recipe:

1 box Betty Crocker Golden Vanilla cake mix
3 eggs
1 1/2 cup water
1/3 cup vegetable oil
1 Teaspoon butter flavoring
1 sm. pkg. vanilla instant pudding

Mix according to package directions adding dry pudding with all other ingredients. Be sure to mix for a full 2 minutes. Scrape down the sides of the bowl after 30 seconds.

Fill cake tins 2/3 full. Bake according to package directions. If you choose to bake without using paper cup liners the cupcakes will be done in 13 minutes for regular cupcakes or 18 minutes for large cupcakes instead of 22-25 minutes. Be sure to generously grease your tin if using this method.

Frosting Recipe:

6 oz. cream cheese, room temperature
1/2 teaspoon strawberry extract
1/3 cup strawberry jam
4 cups powdered sugar
1-2 Tablespoons milk (opt.)
Beat all ingredients until smooth. Frost cool cupcakes.

Dipped Strawberries:

Wash and dry strawberries. Remove leaves and core. Place a piece of parchment over a plate. Melt 2 oz. chocolate chips in microwave. Be sure not to cook the chips and burn them. Simply put them in the microwave for 10-15 seconds,  stir thoroughly, put in microwave for another 10 seconds, stir and repeat if not melted. Dip bottom half only of strawberry. Set dipped strawberry on prepared plate. After all strawberries are dipped put plate in refrigerator to help the chocolate set up quickly.  Place a dipped strawberry in the center of each frosted cupcake just before serving. If you have leftover melted chocolate drizzle it over the entire cupcake top.


Thursday, September 1, 2011

Banners Banners Everywhere

Just because there a million cute things to do for little girls the little boys need fun stuff too. I made this little banner for C. out of scrapes from his quilt.
When my friend saw it she made one for her grandchild for his birthday. Also out of her left over quilt project fabrics.
A's mom is the one who asked me to do it in the first place so here is how I did it.


Decide how big you want your banner and how long you want it to be. The Happy Birthday Banner would have been very long so the flags are a little small and they overlap each other. The flags for A's room are 7" by 7". A's and C's banners are just glued together, The 'Happy Birthday' flags are sewn together and so they have added size for seam allowances.

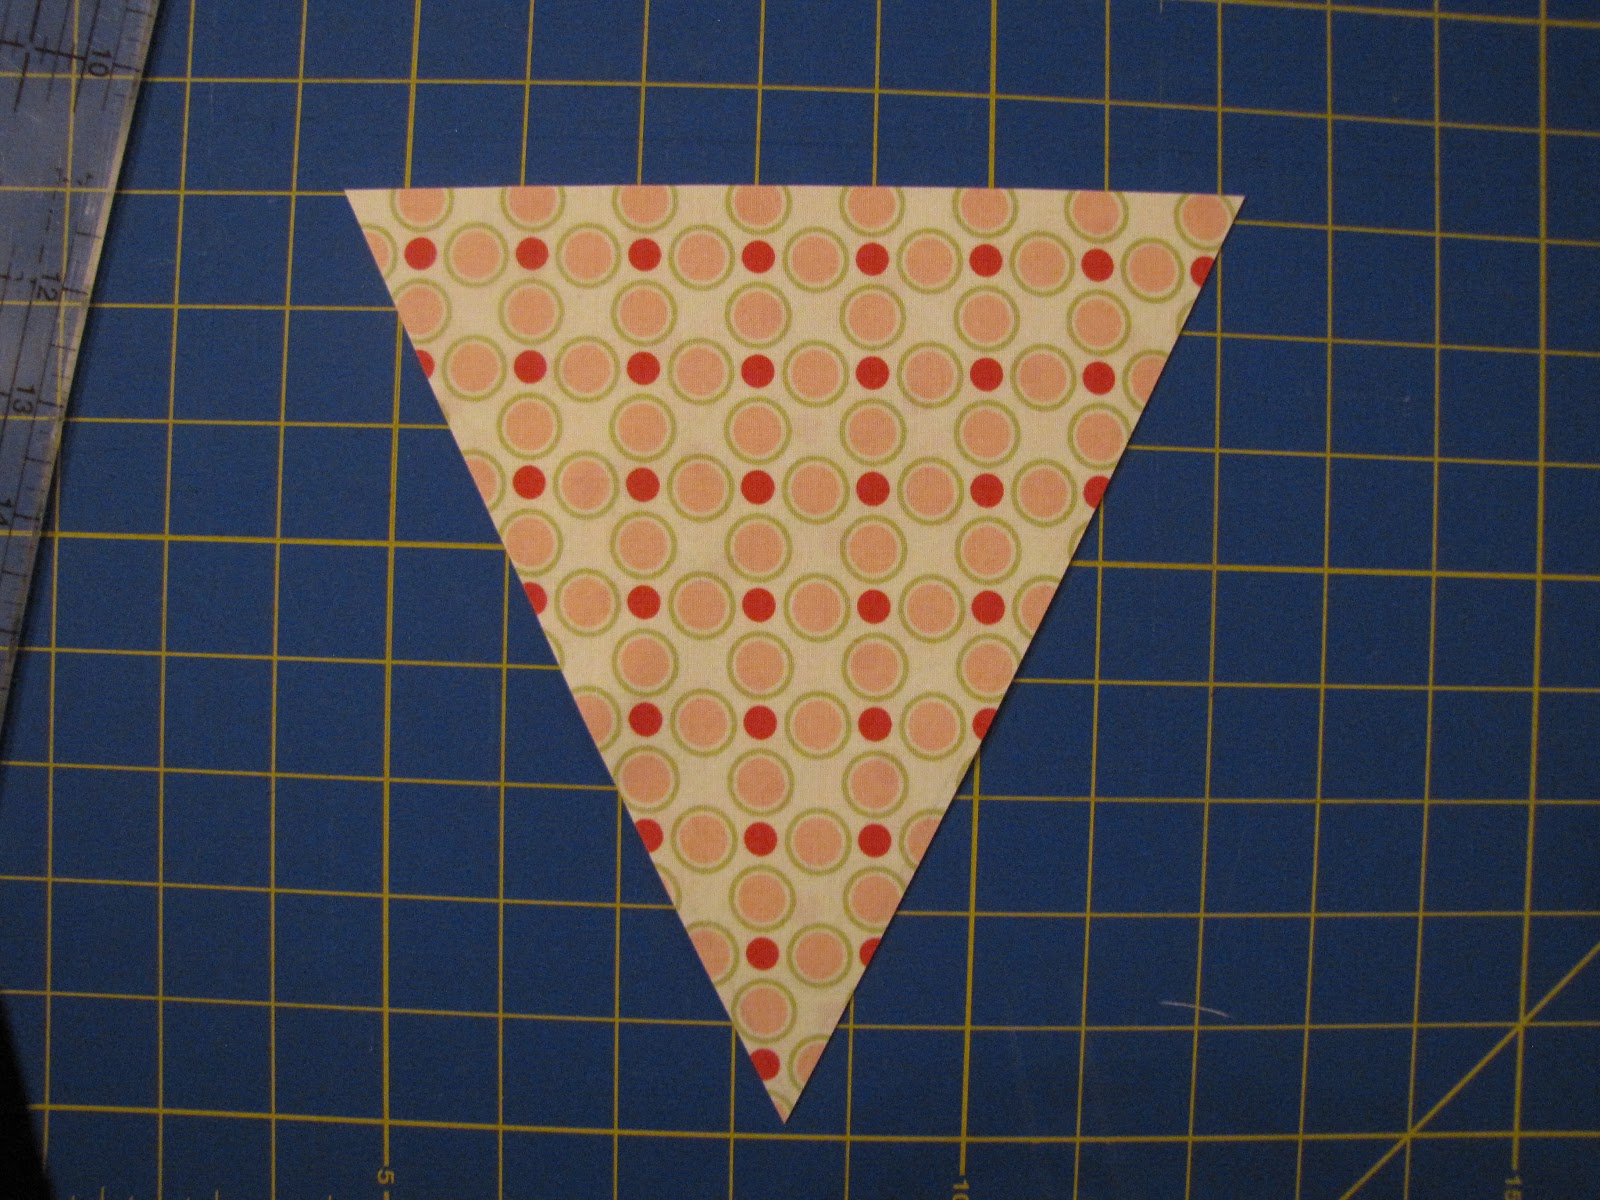
Trace the flag onto 'Heat n Bond or 'Wonder Under' or whatever adheasive product you would use to applique something. If you are making 7 flags trace it seven times leaving a 1/2" space between each flag. Cut between tracings. Iron onto the backside of fabric.

 Trim to 1/4" from tracing line.
 Remove paper.

 Iron flag onto wrong side of backing material.
 Trim to edges of flag.
Using a decorative rotary blade. . .
 

. . .cut lower edges of flag 1/4" from edge.


 Continue same process until all flags are complete. Sew together with 1/2' single fold bias tape. Be sure to look at the bias tape carefully, one side is a 1/16" longer than the other. Use the longer side on the back to make sure that you catch both edges as you sew. Simply insert the flags inside the bias tape. There is a 3/4" gap between these flags.

 C's flags are only 4 1/2" wide because that is how wide the leftover strips of fabric were. To make letters, just trace them backwards onto the adhesive paper, cut them out a 1/4" from the tracing line, iron them onto the wrong side of the fabric you want, cut them out on the tracing line, peel off the paper and iron them onto the flags.