I grew up in a wonderful home with an amazing mother. My 2 grandmothers lived close by and we were spoiled by them. One was named Anna and the other Rhea Anna. And so my handle if you will is Granny Ann. Together those 3 women taught me everything and taught me how to love living life by hand. I hope you enjoy the adventure as much as I have.

Thursday, September 1, 2011

Banners Banners Everywhere

Just because there a million cute things to do for little girls the little boys need fun stuff too. I made this little banner for C. out of scrapes from his quilt.
When my friend saw it she made one for her grandchild for his birthday. Also out of her left over quilt project fabrics.
A's mom is the one who asked me to do it in the first place so here is how I did it.


Decide how big you want your banner and how long you want it to be. The Happy Birthday Banner would have been very long so the flags are a little small and they overlap each other. The flags for A's room are 7" by 7". A's and C's banners are just glued together, The 'Happy Birthday' flags are sewn together and so they have added size for seam allowances.

Trace the flag onto 'Heat n Bond or 'Wonder Under' or whatever adheasive product you would use to applique something. If you are making 7 flags trace it seven times leaving a 1/2" space between each flag. Cut between tracings. Iron onto the backside of fabric.

 Trim to 1/4" from tracing line.
 Remove paper.

 Iron flag onto wrong side of backing material.
 Trim to edges of flag.
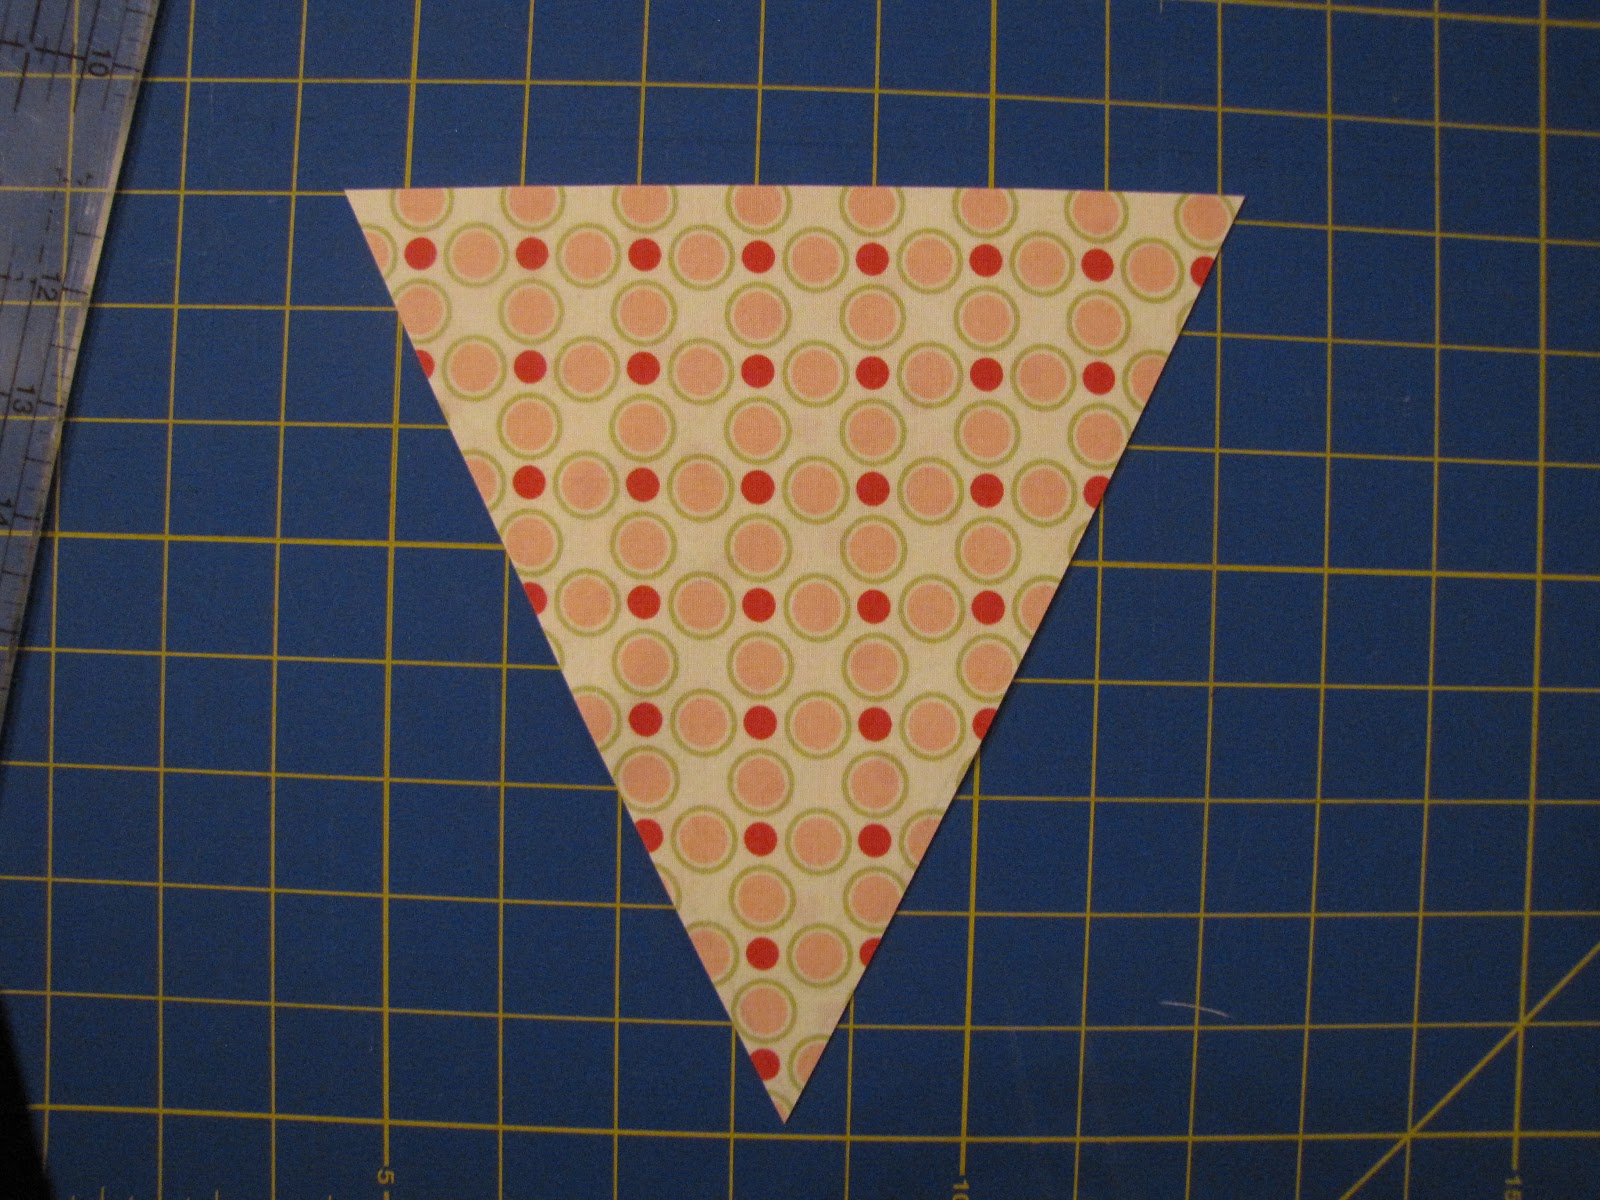
Using a decorative rotary blade. . .
 

. . .cut lower edges of flag 1/4" from edge.


 Continue same process until all flags are complete. Sew together with 1/2' single fold bias tape. Be sure to look at the bias tape carefully, one side is a 1/16" longer than the other. Use the longer side on the back to make sure that you catch both edges as you sew. Simply insert the flags inside the bias tape. There is a 3/4" gap between these flags.

 C's flags are only 4 1/2" wide because that is how wide the leftover strips of fabric were. To make letters, just trace them backwards onto the adhesive paper, cut them out a 1/4" from the tracing line, iron them onto the wrong side of the fabric you want, cut them out on the tracing line, peel off the paper and iron them onto the flags.


No comments:

Post a Comment